Install the Modpack
Pick the method that works best for you. Both will get you in-game with the full modpack.
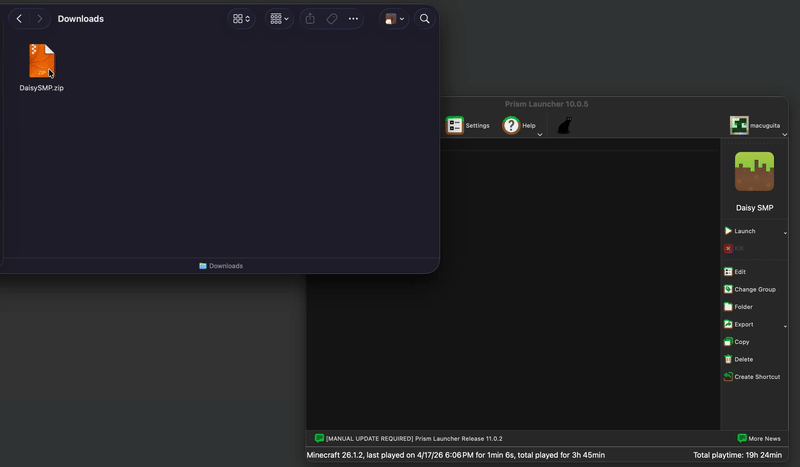
Prism Launcher
Easiest setup — just download a zip and drag it in. No manual steps.
Modrinth App
A bit more setup, but it is better than the default.
CurseForge App
A bit more setup, but it is better than the default.
Prism Launcher
Modrinth App
Download unsup
Download the unsup jar from the Modrinth website: modrinth.com/mod/unsup. Grab the latest version's .jar file.
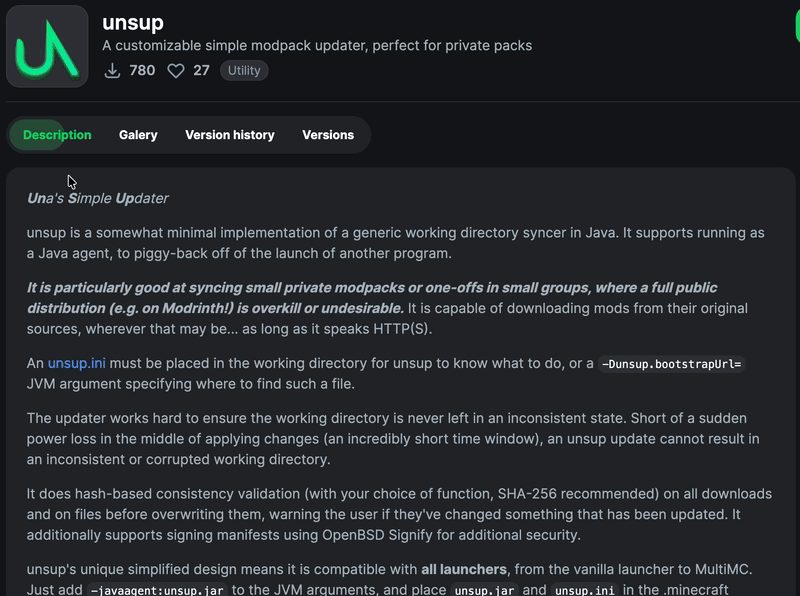
Rename the jar to unsup.jar
Find the downloaded jar file — it will be named something like unsup-1.x.x.jar. Rename it to exactly unsup.jar (remove the version number).

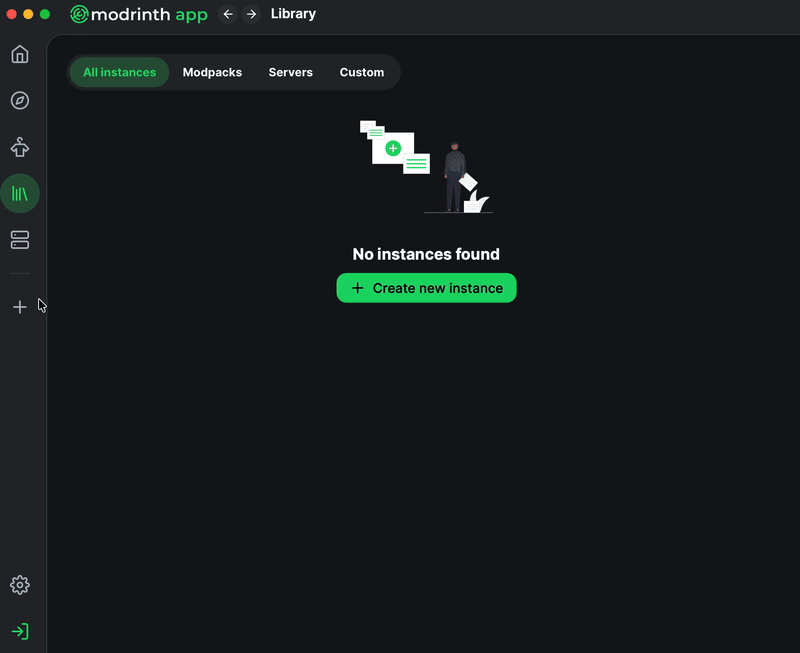
Create a new instance in the Modrinth App
Open the Modrinth App and click the Create new instance button.
Choose Custom Setup and name your instance
Click Custom Setup. Name the instance Daisy SMP (or anything you like). Then set:
 Loader: Neoforge — latest version
(currently loading...)
Loader: Neoforge — latest version
(currently loading...)
 Minecraft version: 1.21.1
Hit Create to finish setting up the instance.
Open the instance folder
Click on your new instance in either the sidebar or the Library page. Then click the ⋮ three-dot menu at the top right of the window and select Open Folder.

Drop unsup.jar and unsup.ini into the folder
Drag both unsup.jar and unsup.ini into the instance folder that just opened. Then close the file explorer and go back to the Modrinth App.
Add the Java agent argument
Click the Settings cogwheel button at the top right of the instance window. In the settings panel that appears, click Java & Memory on the left side. Enable Custom Java Arguments, then type or paste the following into the text box:
-javaagent:unsup.jar

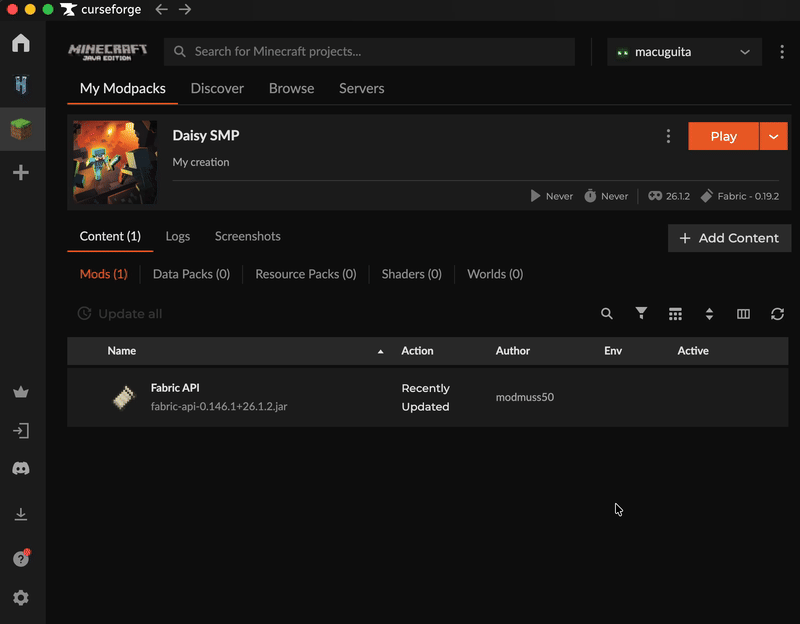
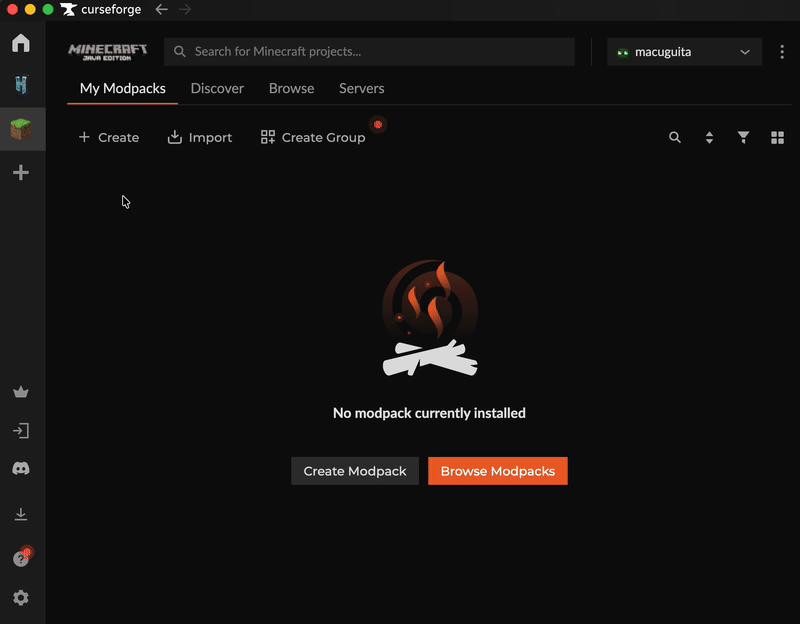
CurseForge App
Download unsup
Download the unsup jar from the Modrinth website: modrinth.com/mod/unsup. Grab the latest version's .jar file.
Rename the jar to unsup.jar
Find the downloaded jar file — it will be named something like unsup-1.x.x.jar. Rename it to exactly unsup.jar (remove the version number).
Create a new instance in the Modrinth App
Open the Modrinth App and click the Create new instance button.
Choose Custom Setup and name your instance
Click Custom Setup. Name the instance Daisy SMP (or anything you like). Then set:
Loader: Neoforge — latest version
(currently loading...)
Minecraft version: 1.21.1
Hit Create to finish setting up the instance.
Open the instance folder
Click on your new instance in the minecraft main page. Then click the ⋮ three-dot menu at the top right of the instance window and select Open Folder.
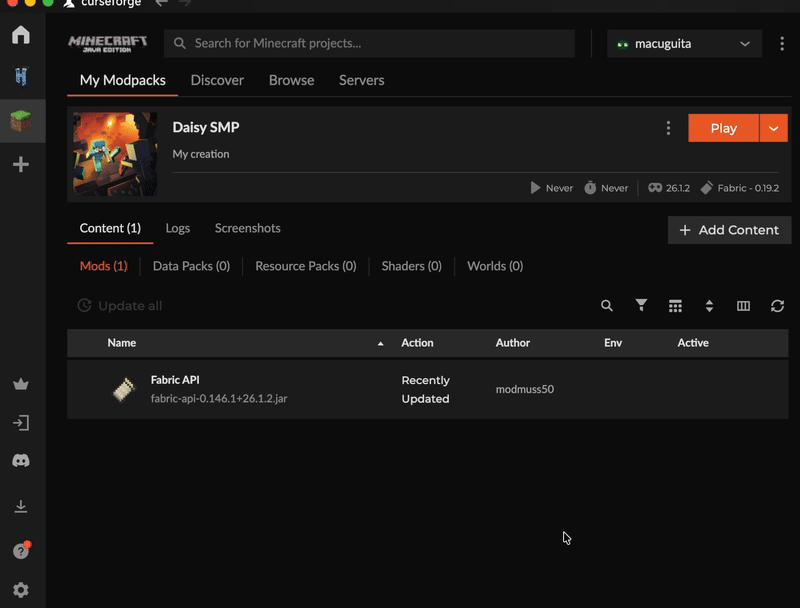
Drop unsup.jar and unsup.ini into the folder
Drag both unsup.jar and unsup.ini into the instance folder that just opened. Then close the file explorer and go back to the CurseForge App.
Add the Java agent argument
click the ⋮ three-dot menu at the top right of the instance window and select Profile Options. Scroll all the way down until you see default additional arguments, then type or paste the following into the text box:
-javaagent:unsup.jar